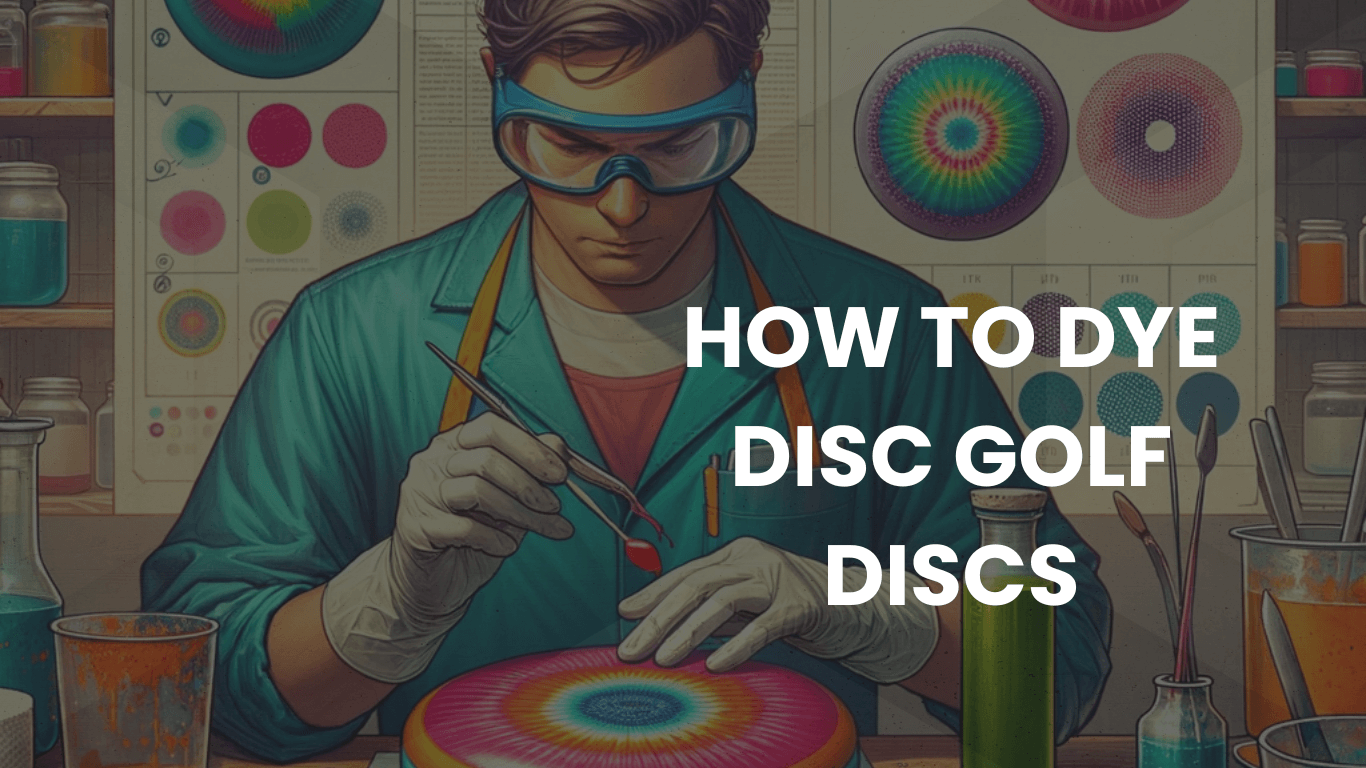
How To Dye Disc Golf Disc? Step-by-Step Instructions
Discover the art of dyeing disc golf discs with our comprehensive guide. Learn easy-to-follow steps, tips, and tricks to personalize your discs for the perfect game experience.
As an avid disc golf enthusiast, I’ve always been fascinated by the idea of customizing my discs. That’s why I learned how to dye disc golf discs, transforming them into unique pieces of art. It’s easier than you think and adds a personal touch to the game. Today, I’m excited to share my step-by-step guide with you!
Ever wondered how to make your disc golf discs stand out on the course? I did too! That’s when I discovered the fun and creative world of dyeing disc golf discs. It’s not just about color; it’s about expressing your style. I’m here to walk you through the process, making it simple and enjoyable for everyone. Let’s dive into this colorful adventure together!
How To Dye Disc Golf Disc?
Dyeing disc golf discs turned out to be a game-changer for me. It started as a small project to personalize my gear, but it quickly grew into a passion. In this guide, I’m sharing my experience on how to dye disc golf discs. Whether you’re a beginner or a seasoned player, you’ll find these tips helpful in adding a personal touch to your discs.
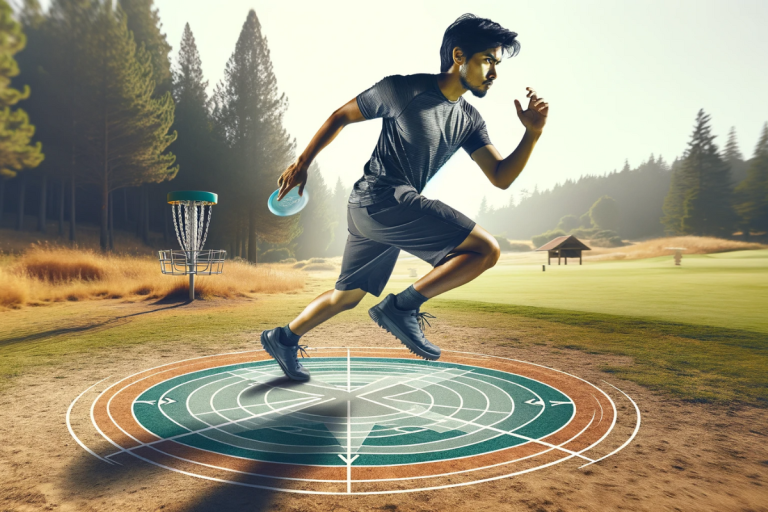
The Rise of Disc Golf
Disc golf has rapidly grown from a niche hobby to a widely enjoyed sport, attracting players of all ages. I remember when I first discovered it—a blend of leisure and competition that instantly hooked me. Today, courses are springing up everywhere, and tournaments draw crowds, reflecting its soaring popularity.
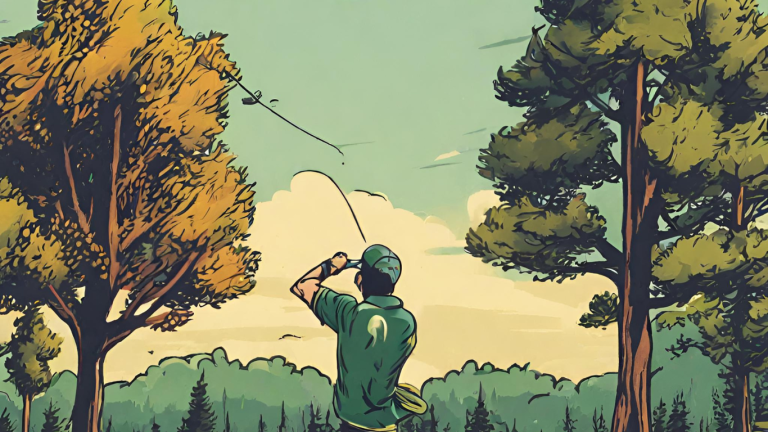
Personalizing Your Game
For me, disc golf isn’t just about scoring well; it’s about expressing individuality. That’s where dyeing my discs comes in. It’s not just a trend; it’s a way to make a statement on the course. Each dyed disc is a reflection of the player, their personality shining through every throw.
Why Dye Your Disc Golf Discs?
I’ve always seen my discs as more than just equipment—they’re part of my disc golf identity. Dyeing them became a way to stand out and add a personal touch. Plus, it’s incredibly fun! From choosing designs to mixing colors, the process is as rewarding as nailing a perfect drive.
What You Need to Know Before You Start
Choosing the Right Discs for Dyeing
Before diving into how to dye disc golf discs, it’s essential to pick the right kind. Not all discs are created equal for this craft. I’ve learned through experience that certain plastics take dye well, while others don’t. The best options are premium plastics like Star or Champion from Innova, or Z-Line from Discraft. These materials hold dye well and ensure vibrant colors.
Understanding Disc Materials
It’s crucial to understand the material of your disc. In my early days, I didn’t realize how different materials reacted to dyes. For instance, baseline plastics, often lighter and more affordable, don’t absorb dye effectively. On the other hand, premium plastics, though a bit pricier, offer a smoother surface for the dye to adhere to, leading to more striking and lasting designs.
Preparing for Success
Preparation is key in dyeing discs. A well-chosen disc is like a blank canvas. I always ensure my discs are clean and dry before starting. This means wiping off any dirt and oils, which can affect how the dye sets. Remember, the better the preparation, the better the final result.
You May Also Like To See: How To Throw a Disc Golf Putter?
Materials and Tools Required
Gathering Your Dyeing Supplies
When I first explored how to dye disc golf discs, I realized the importance of having the right materials. You’ll need a few key items: a disc golf disc, of course, preferably made of premium plastic for best results. Next, the dye – I recommend specific disc dye or fabric dye for vibrant colors. Acetone or rubbing alcohol is essential for prepping the disc’s surface.
Understanding Each Tool’s Role
Each tool plays a specific role in the dyeing process. Acetone cleans the disc, ensuring the dye adheres properly. The dye is the main player, bringing your creative designs to life. Gloves are crucial for safety, keeping your hands stain-free. And don’t forget a container large enough to hold the disc and the dye solution.
Additional Helpful Items
Other helpful items include stencils for precise designs and a heat source like a hairdryer to set the dye faster. Remember, the quality of these materials directly impacts the final outcome of your disc. High-quality dye and proper tools make all the difference in achieving those eye-catching designs.
Choosing the Right Dye for Your Disc
Identifying Suitable Dye Types
In my journey learning how to dye disc golf discs, I quickly realized the significance of choosing the right dye. The most common types are fabric dyes like Rit and iDye Poly. These dyes are specifically formulated for synthetic materials, making them ideal for the plastic used in disc golf discs.
Analyzing the Pros and Cons
Fabric dyes offer vibrant, long-lasting colors, perfect for bold designs. However, they require a bit of skill to mix and apply evenly. Another option is specialized disc golf dyes, which are designed for plastic and offer easier application but can be more expensive. It’s all about finding a balance between ease of use and the quality of the final product.
My Personal Experience
From my experience, fabric dyes provide a broader range of colors and are more budget-friendly. While they might need more careful handling, the results are often worth the effort. Specialized disc dyes are great for beginners due to their simpler application process, though they may offer a limited color palette.
Prepping Your Disc for Dyeing
The Cleaning Process
Learning how to dye disc golf discs taught me the importance of a clean disc. Start by washing the disc with soapy water to remove dirt and oils. I use a mild detergent and a soft cloth, gently scrubbing in a circular motion. Rinse it thoroughly and let it dry. This step ensures the dye adheres evenly and produces vibrant colors.
Priming for Dye Application
After cleaning, I sometimes prime the disc, especially for intricate designs. Priming involves lightly sanding the disc’s surface with fine-grit sandpaper. It creates a smoother surface, helping the dye to stick better. Be careful not to over-sand; a light touch is all that’s needed.
Safety Precautions
Safety is paramount. Always dye in a well-ventilated area and wear gloves to protect your hands. I also recommend wearing old clothes or an apron, as the dye can stain. Keeping these safety tips in mind ensures a pleasant and hazard-free dyeing experience.
Step-by-Step Dyeing Process
Dyeing Techniques
In my journey to master how to dye disc golf discs, I’ve experimented with various methods. Each technique offers unique patterns and effects, making each disc a work of art. Let me walk you through three popular methods: Paint Pour, Shaving Cream, and Ice Method.
Paint Pour Method
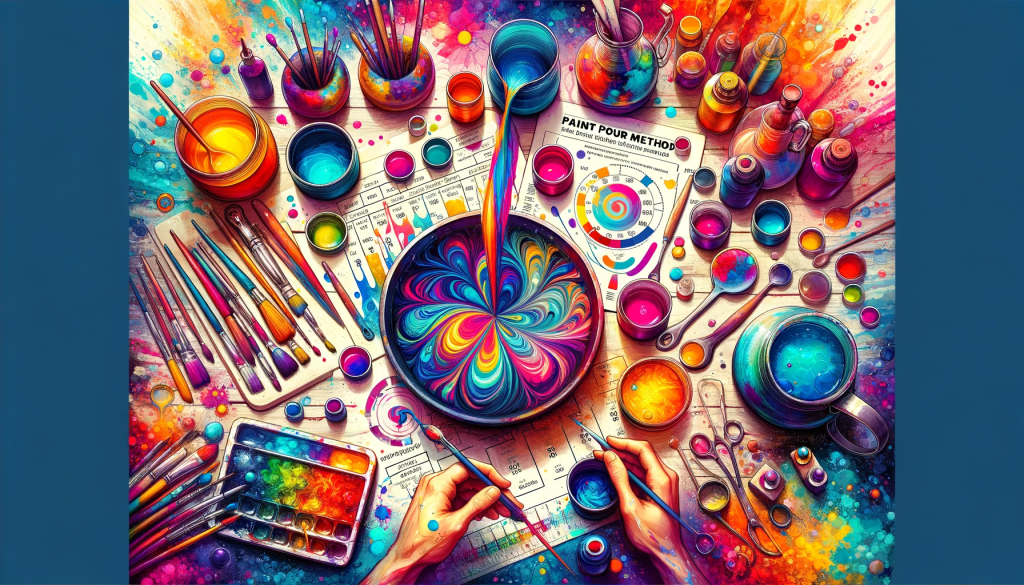
Mix Your Dyes:
Start by mixing your chosen dyes in separate containers. This allows for color customization.
Add Acetone:
Mix in 2-3 oz of acetone to each dye. This helps the dye to spread more fluidly.
Prepare the Base:
Lay out a flat, clean surface as your dyeing base.
Apply Dye Drops:
Gently add drops of dye onto your base, creating your desired pattern.
Dye the Disc:
Place the disc facedown into the dye mix, ensuring full coverage.
Shaving Cream Method
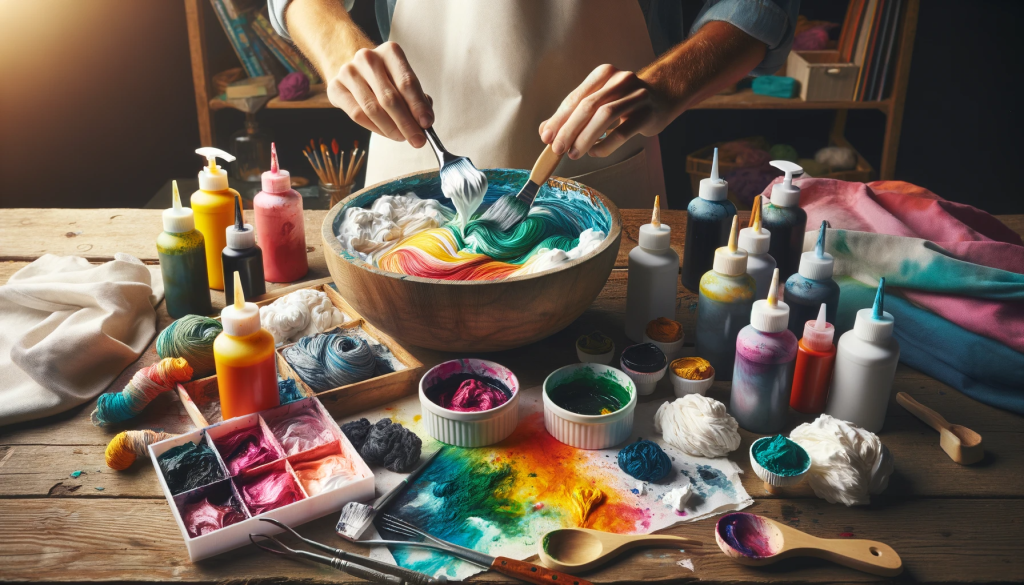
Shaving Cream Base:
Spread shaving cream evenly on a flat surface as your base.
Dye Preparation:
Prepare your dye base in separate containers.
Mix Dyes:
Create your dye mixes with desired colors.
Design with Dye:
Use an eyedropper to apply the dye mix onto the shaving cream, creating patterns.
Place the Disc:
Gently place the disc face down in the mixture.
Dyeing Time:
Leave the disc in the dye for at least 12 hours for the colors to set.
Ice Method
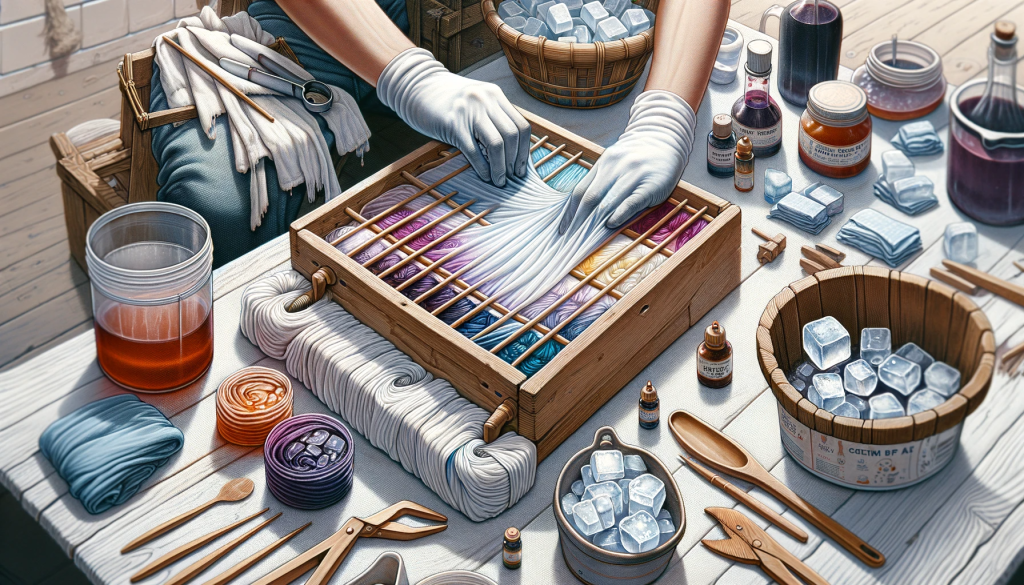
Setup:
Place your disc in a tray to catch excess dye.
Ice Placement:
Arrange ice cubes on top of the disc.
Apply Dye:
Sprinkle synthetic powdered dye over the ice.
Acetone for Effect:
Pour acetone over the ice to create a watercolor effect.
Melting Ice:
Let the ice melt completely, revealing unique designs.
Final Touches:
Rinse off the disc to unveil your custom design.
Creative Design Ideas for Disc Golf Discs
In my journey of learning to dye disc golf discs, I’ve discovered a world of creative design ideas. Popular choices among disc golf enthusiasts are spirals, starbursts, and abstract patterns. These designs do more than just elevate the aesthetic appeal; they infuse a personal touch into each game. By experimenting with various artistic concepts, I’ve found that disc golf discs can become unique pieces of art, reflecting individual styles and preferences.
Mastering Intricate Patterns on Disc Golf Discs
Embarking on the creation of intricate patterns on disc golf discs can initially seem like a daunting task. However, I’ve learned that with the right approach, crafting detailed designs is not only possible but also immensely rewarding. My go-to technique involves using stencils to ensure precision and layering colors to add depth to the artwork. Patience plays a crucial role in this process. It’s important to apply the dye meticulously, taking your time to perfect each detail. Interestingly, I’ve found that sometimes opting for simplicity can be just as impactful as more complex designs. A simple pattern, executed flawlessly, can stand out remarkably on the disc golf course.
Troubleshooting Common Issues
Fixing Dyeing Mistakes
Mistakes happen, even to the best of us. If the dye bleeds, I use a cotton swab dipped in acetone to gently remove the excess. It’s like an eraser for dyeing!
Adjusting Colors and Correcting Bleeds
Adjusting colors is part art, part science. If a color isn’t vibrant enough, adding a second layer can intensify it. For bleeds, besides the acetone trick, using a finer brush for application helps prevent future issues.
Caring for Your Dyed Discs
Ensuring Longevity of the Dye
After mastering how to dye disc golf discs, I learned that proper care is crucial. To preserve the dye, avoid leaving your discs in direct sunlight for prolonged periods. UV rays can fade the colors.
Effective Cleaning and Storage
For cleaning, a gentle wipe with a damp cloth is enough. Avoid harsh chemicals that can strip the dye. When storing, keep them in a cool, dry place. I use a disc bag to protect them from scratches and dust.
Showcasing Your Custom Discs
Displaying Your Artwork
Your dyed discs are more than just sports equipment; they’re pieces of art. I like displaying mine on wall mounts or shelves. It turns them into conversation pieces and adds character to my space.
You May Also Like To See: How to throw disc golf flatter?
Sharing on Social Media
Social media is a great platform to showcase your designs. I share mine on disc golf forums and Instagram, tagging them with #DiscGolfArt. It’s a fun way to connect with the community and get inspiration.
Conclusion
Through my adventure in learning how to dye disc golf discs, I’ve found a unique way to express my creativity and passion for the game. The process, from choosing dyes to showcasing my custom discs, has been as rewarding as hitting an ace. I hope this guide inspires you to add a personal touch to your disc golf journey.
FAQs
Q1: Can any disc golf disc be dyed?
Answer:
Not all discs are suitable; premium plastic discs like Star or Champion from Innova work best as they absorb dye more effectively.
Q2: How long should I leave my disc in the dye?
Answer:
It varies, but generally, for intricate designs, leaving the disc in the dye for at least 12 hours is ideal for vibrant colors.
Q3: Will dyeing my disc affect its flight?
Answer:
No, if done correctly. The dyeing process adds minimal weight and doesn’t alter the disc’s aerodynamic properties.